Installing the Integration
Getting started takes just a few minutes.
Prerequisites
Before you begin, make sure you have:
- A Kleer account with API access
- A HubSpot account with admin permissions
- Your Kleer API key and Company ID (found in your Kleer account under Settings → API)
Step 1: Install from the HubSpot Marketplace
Find Kleer for HubSpot in the HubSpot App Marketplace and click Install. You'll be asked to authorize the connection to your HubSpot portal.
Step 2: Open the Settings Page
After installation, go to Settings → Integrations → Connected Apps in HubSpot and open the Kleer for HubSpot settings page.
You'll see the General Configuration tab with three sections:
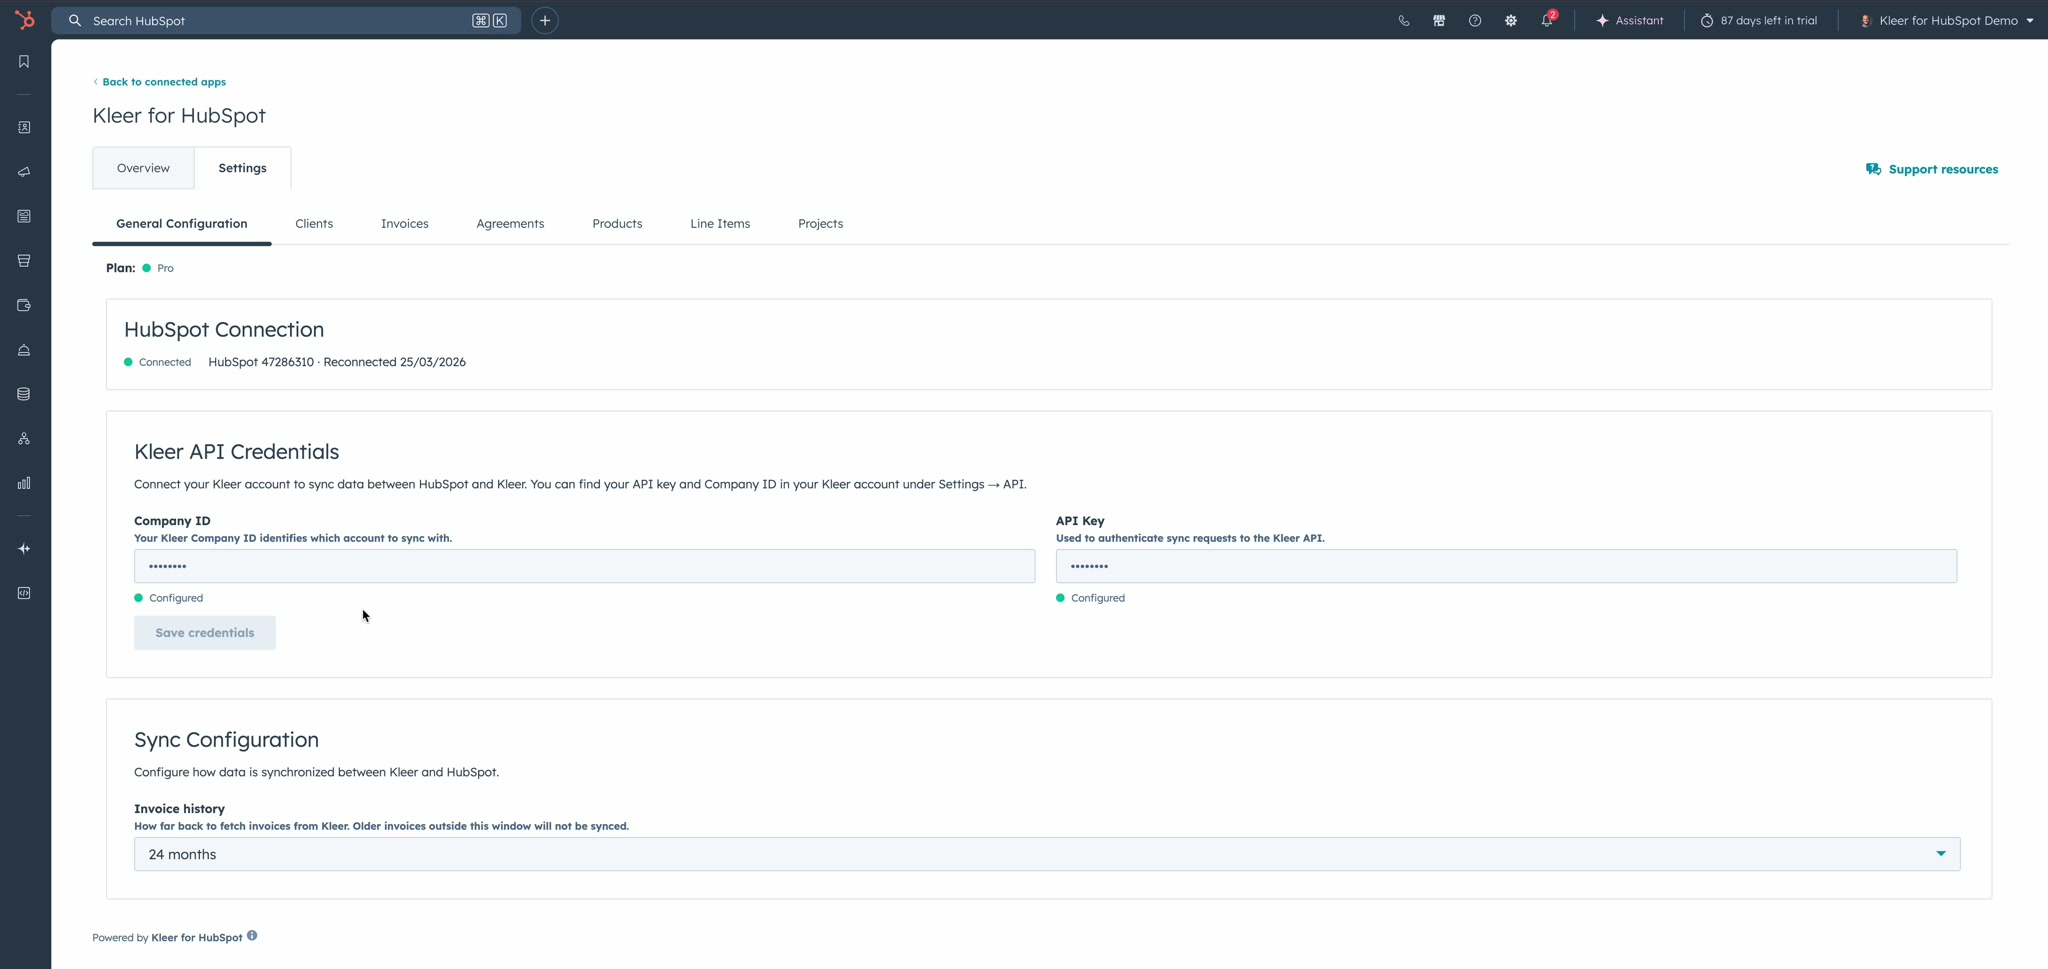
- HubSpot Connection — Shows your portal ID and connection status
- Kleer API Credentials — Where you enter your Company ID and API Key
- Sync Configuration — Invoice history window setting
Step 3: Enter Your Kleer Credentials
In the Kleer API Credentials section, enter your Company ID and API Key. You can find both in your Kleer account under Settings → API.
Click Save credentials. The status indicators will show "Configured" in green once saved successfully.
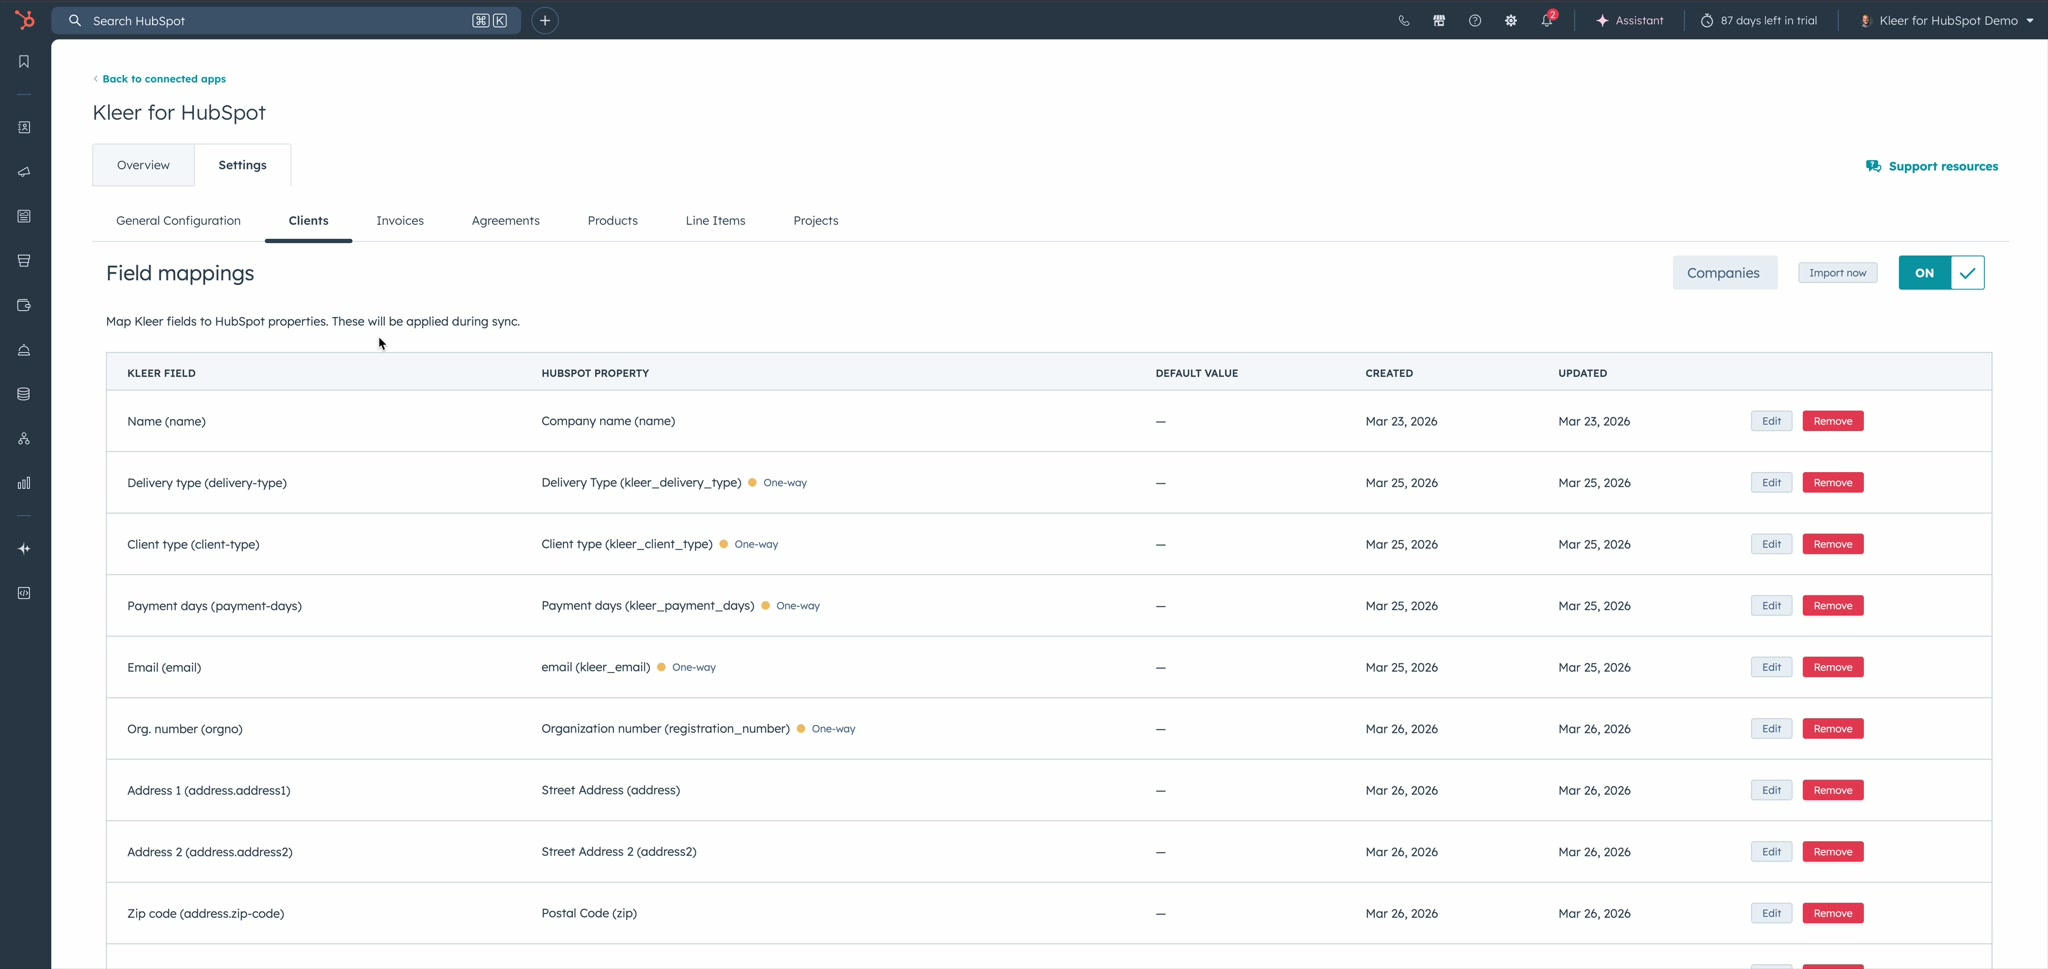
Step 4: Enable Sync for Each Object Type
Switch to any of the object tabs — Clients, Invoices, Agreements, Products, Line Items, or Projects. Each tab has an ON/OFF toggle in the top-right corner that enables or disables sync for that object type.
Start with Clients and Products — you can always enable more later.
Step 5: Configure Field Mappings
On each object tab, you'll see the field mappings table. These control which Kleer fields are written to which HubSpot properties. The integration comes with sensible defaults, but you can customize these. See Field Mappings for details.
What Happens Next?
Once configured, the integration begins syncing automatically on a schedule. The first sync may take a few minutes depending on the amount of data in Kleer. After that, only changed records are synced.